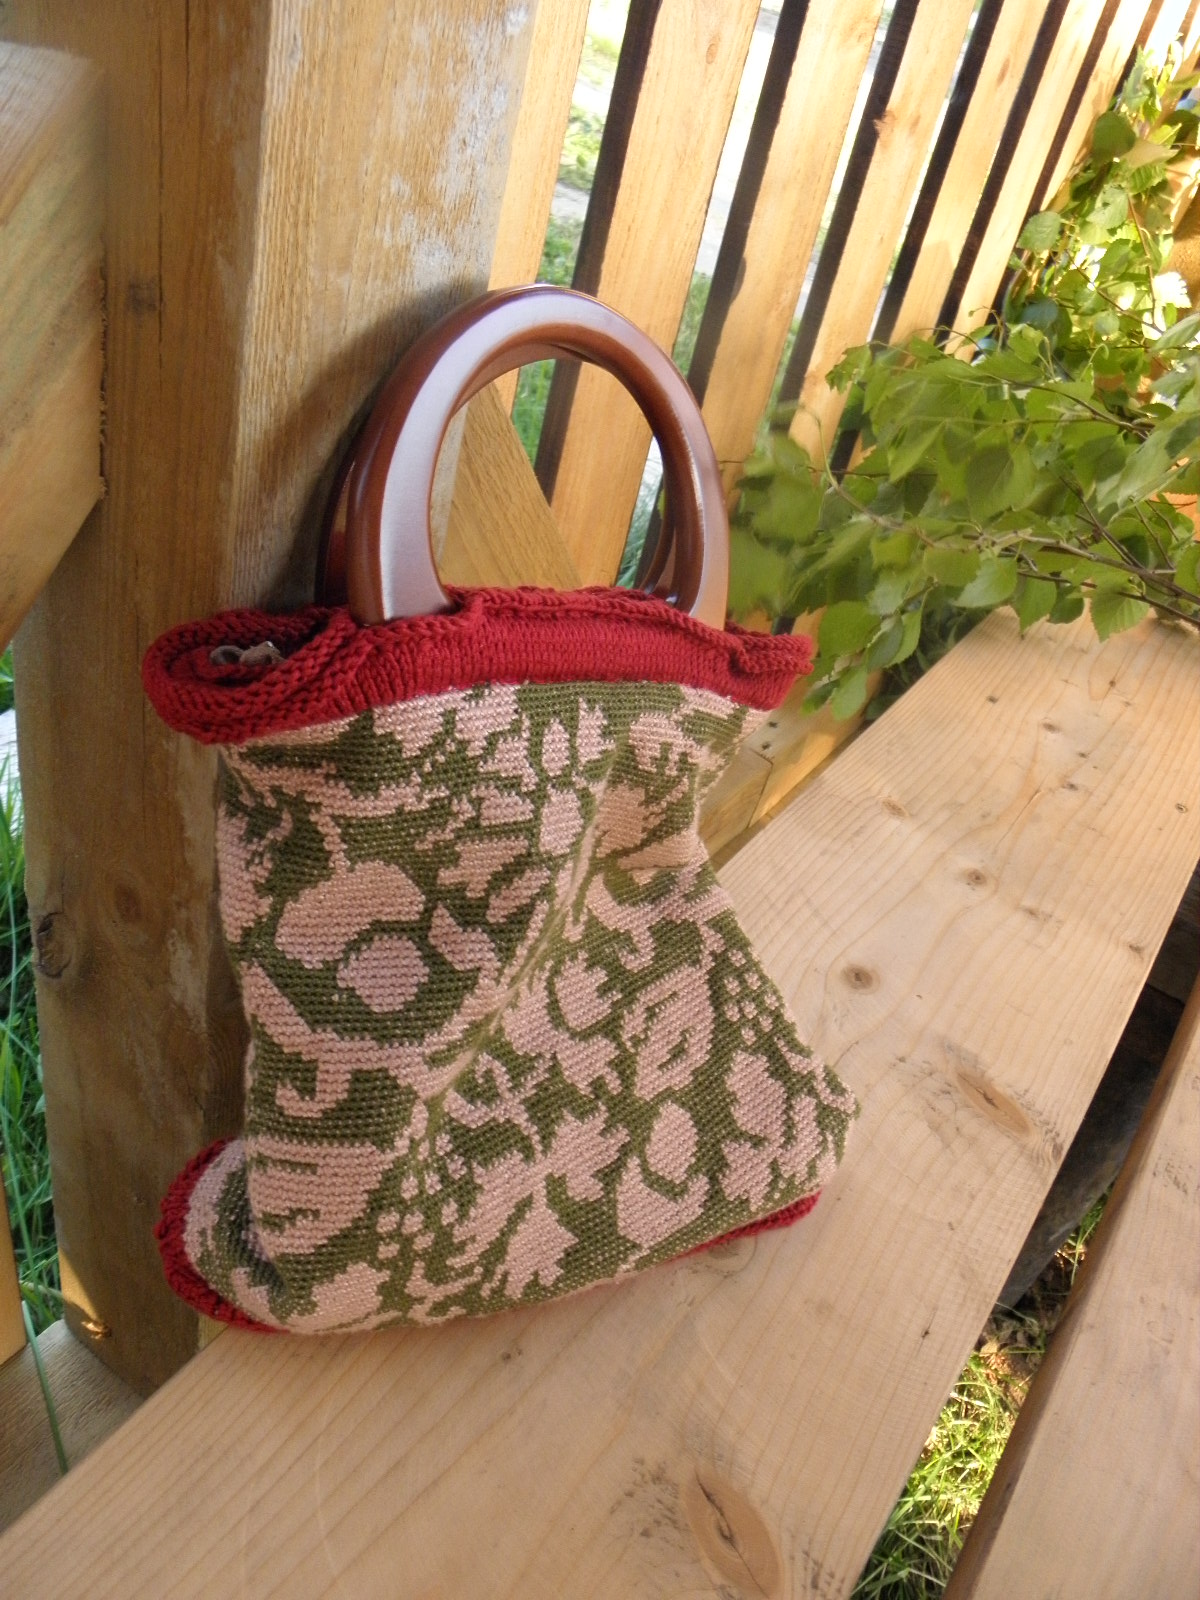
The process:
Showing posts with label patterns. Show all posts
Saturday, June 25, 2011
Saturday, April 16, 2011
Easter rabbit

Knitted round bottom to top. Begin with 40 st. Reduce about half of the st on the neckline. Knit two rounds and increase again to make a head. Nose is knitted like a boubble (make 5 st from one, knit or purle some rows, then knit those 5 together again). Knit 3-4 rounds ater the nose and then begin to reduce slowly (because the top of the head is close). Ears knitted in one peace with head - just take some st in one side of the head and knit seaparate several rows (that long you want) then reduce gradually until only one st remained. Pick up one stich from a side of the ear (go the same direction you knitted round) and pass the previous st over. Pick up the next and pass prev st over this again. Until you are back to the stiches of the head. Continue with the head and reduce gradually - until there are only some st, cut the yarn and pull it through the remaining stiches. Knit a small "scarf", stuff the head and tie the "scarf" around the neck - imagine these are paws. :) Make small back foots, attached to the body. Stuff the body, sew the bottom seam. Make a lap and a face. And the "quick rabbit" is completed.
Wednesday, January 26, 2011
Skiing hat with celtic motifs
As I baught new skiis I needed a new hat as well.
I thought this celtic motif was perfect for my hat. Knitting it from the center was a challenge for me.

The first round is 8 stiches (2 on each needle). Every next round you make 3 stiches from the corner stiches. This is the chart:


When the chart was over the circuit of the hat was luckily exactly my size. :) Then I had to knit just stright ahead.
Another celtic motif on the ears:


Fixing the endings of the yarns inside (you will have large amount of endings if you do colourwork knitting around):

Knitting another layer inside (I wanted double layers to make it cosy):

This is the result:


It is original and my ears don's freeze!
I thought this celtic motif was perfect for my hat. Knitting it from the center was a challenge for me.

The first round is 8 stiches (2 on each needle). Every next round you make 3 stiches from the corner stiches. This is the chart:

When the chart was over the circuit of the hat was luckily exactly my size. :) Then I had to knit just stright ahead.
Another celtic motif on the ears:

Fixing the endings of the yarns inside (you will have large amount of endings if you do colourwork knitting around):
Knitting another layer inside (I wanted double layers to make it cosy):
This is the result:
It is original and my ears don's freeze!
Sunday, August 15, 2010
Frogs-pullover
This is one of my long time projects, I made it for about half a year. I would like to share the process of making this pullover but I am afraid this is not 100% perfect pattern. However maybe you can get just something useful for you.
Yarn Almina Madame Tricote (50g/169m) - about 400g (different colours). Needles - knitting needles 1.5 mm.
Size: length=47cm, width=30cm, sleeves (semi-long)=22cm.
Used technique - patchwork (modular knitting). Size of one square=4x4cm.
The draft:Size: length=47cm, width=30cm, sleeves (semi-long)=22cm.
Used technique - patchwork (modular knitting). Size of one square=4x4cm.

And the basic knitting in real (not too big difference this time except colours):
How to make a square. Pick up stiches of both sides of previous squares (15 of each side).
If it is first squares row then cast on 30 stiches. Knit in garter stich (i.e. knit every row). Decrease 2 st every 2nd row in the middle: sl1,k1,psso, k2tog. The last 2 rows decrease every row (until 2 st remained), cut thread and pull through. When making the next square don't forget knit in this thread - to avoid many endings of thread at the end of project.
Not all pieces are squares. You will have to make triangles as well where needed. Here must be split for a zip-fastener:

That means that you pick up 15st from only one side and decrease (k2tog) two last stiches in the each 2nd row (the middle i.e. the place of split is the place of decrease).
To make smooth line on the shoulders pick up the remaining stiches on the top:
Decrease at marked places. Marked white - 2st every 2nd row (sl1,k1,psso, k2tog), marked blue - 2st every 4th row, marked red - k2tog at the end of each row. Continue untile there are no stiches left between red and white points. Cast off. The result should look like this:
Pick up 30 stiches (as usually), make decrease in the middle (as described for square) and k2tog in the end of each row. This makes a triangle with a straight line on the top. You make 2 middle top triangles this way.
Now it looks like this:
The collar is knitted top to bottom. I casted on 100 stiches and increased evenly to reach the total length of the top edge.
Sew to the top of the pullover using backstich seam.

Sew in the zip. Knit 2 pieces of small bands and sew them on the left side to hide the zip.


How it looks from above:

The pockets-frogs:
A frog consists of 4 square pieces (knitted as usual) and the head. Head is knitted as following - pick up the stiches from the both sides of the top square. Increase 2 st each 2 rows. Continue until th head is big enough. Crochet the edge (i.e. mouth) and make 5 double crochets in the both sides of the moth. Sew in the eyes (this frog has felted eyes.
Legs - knitted round (12st for back legs, 10st for front legs) and increased on the ends to make paddles.
Here are the component parts (I made buttonholes in the head, my idea was to make eyes as buttons. Unfortunaly this idea failed, so I sew the eyes on the head.)Legs - knitted round (12st for back legs, 10st for front legs) and increased on the ends to make paddles.

Sew on the pockets using backstich seam:


Fix the legs to make them look normally:

So - if the pullover was sleeveless it would look like this:

But I forsed myself to knit sleeves (because they were in my initial idea and I didn't want to draw back). Sleeves are just straight, knitted round:

And here with my topmodel (very bad pictures because of my dieing camera):


Friday, February 12, 2010
Hairsnake pattern


Materials and tools
Yarn – any fine or superfine cotton or wool yarn – black, green and yellow (or any other colours of your choise).
Set of double pointed needles (size – 1.5 mm)
Hook – 1.75 mm
A piece of wire.
Abbreviations
k – knit
p – purl
m1 - make one; pick up a yarn between stiches and knit
k2tog – knit 2 stiches together
skp – slip, knit, pass over
Instructions
Snake is knitted from tail to head.
Take the black yarn. Cast on 8 stiches (2 st on each needle).
1st round k8
2nd round k4, m1, k4, m1 (you have 10 st now)
3rd round k10
4th round k2, m1, k5, m1, k3 (12 st now)
5th round k12
6th round k6, m1, k6, m1 (14 st now)
7th round k14
8th round k3, m1, k7, m1, k4 (16 st now)
Etc – continue increasing 2 st each 2 rows until there are 24 st on needles (i.e. 6 st on each nedle)
The tail is ready now. The body is knitted in some nice snake ornament. Here is my ornament for snake’s body:
You can adorn your snake with your own ornament as well. But it is rather importamt to use several colours because unused yarn stretching inside makes the snake „full” – you do not need use fill matherial anymore. While knitting do not forget put the wire inside (put in and knit around).
When the snake is long enough (mine is about 40 cm) it is time for the head. Increase 4 stiches (at the end of 2nd and 4th needles and at the beginning of 1st and 3rd needles).
Knit about 8 rounds, then make eyes (just knit yellow or other colour in the 4th stiches of the 1st and 2nd needles) next 2 rounds. Then start decreasing: knit together tha last st of the 2nd needle with the 3rd st of the 3rd needle and the last st of the 4th needle with the 1st st of the 1st needle. Use different colour (yellow) for knitting together – this will be a mouth. Then knit 1 round without decreasing (but still knit yellow yarn above the yellow s tin the previous round). Do decreasing 2 decreasing rounds again - the same way as the first decreasing round. Cast off using yellow yarn (during this process you also knit together the opposite yarns of the „opposite” needles (1st–4th and 2nd-3rd)).
Your snake is ready now but if you are planning to fix it to the hair it needs some extra part for that. Knit or crochet a tiny tie as long as the snake (exept the head) and attach to snake’s stomach each 2-3 cm. This tie is needed for being bitten by a pin and fixed to the hair such way. If you are planning to wear it just wrapped around your ponytail – you do not need this tie.
Monday, September 21, 2009
Yellow bricks pullover - pattern


Sizes
Small - Medium
Matherials
Angora Ram - white 100g, Yellow 100g, brown 100g
Job description
Make the pieces at first. Every piece must be knitted in the round, beginning from the center. Colours can be changed from round to round.
Cast on 8 stiches.
1st round: k8
2nd round: (k1,yo,k1)* repeat 4 times
3rd round: (k1,yo,k1,yo,k1)* repeat 4 times
4th round: k20
5th round: (k1,k1,yo,k1,yo,k1,k1)* repeat 4 times
6th round: k28 … etc
12th round: purle all and make one extra stich in each corner
Do not bind off. Use a temporary yarn for fixing stiches.
Pieces are linked together using backstich seam. My pieces were 5×5 cm and were placed in a scheme figured in the picture above. The points with equal numbers must be put together (see the schema).
Finnish ends using backstich seam. Corners connections (if ugly) can be covered by embroidered flowers.
Subscribe to:
Posts (Atom)